Wednesday 16 November 2011

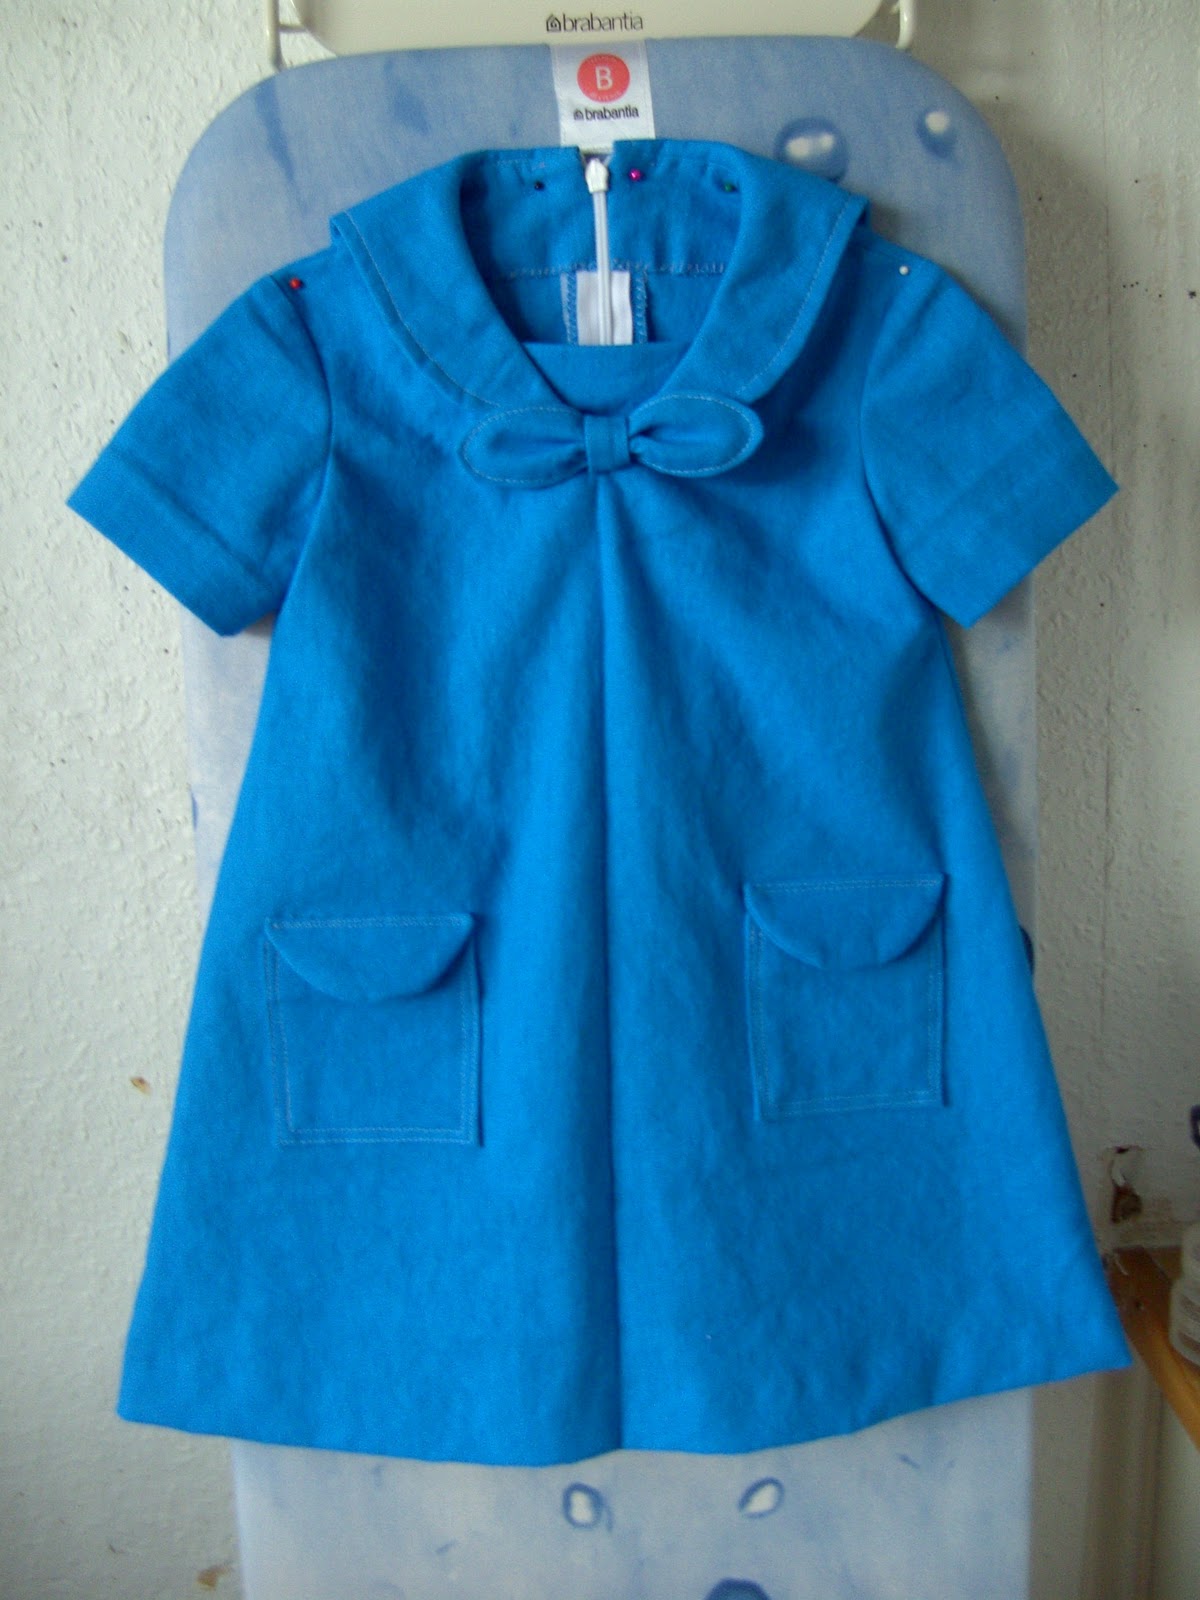
How to Make a Dress: Part 9 - How to Insert an Invisible Zip with an Adjustable Zipper Foot

I only just remembered that I am supposed to write this post today! Nearly all day I've been putting together a TV cabinet (flat-pack). What hard work that was!

Anyway, onto the invisible zip...

In case you don't know the difference between a regular zip and and invisible one, an invisible zip's teeth curl inwards so that when you zip the zip up you can't see them from the RS. When you have sewn an invisible zip into the garment properly, all you can see is the zip pull, whereas with a regular zip you would see topstitching and a sort of pleat under which you have the zip.

An Invisible zip is sewn in differently to a regular zip. You insert the zip before you sew the seam. Also, you can't sew all the way down it so you need a zip that is at least about 2" (5cm) longer than the opening. You can easily shorten the zip if you have to.

First, neaten the seam allowances all the way down and mark them off. Here, they are 1.5cm and the same width as my tape measure which I used as a guide). Press them to the WS.


Open the zip and, keeping the edge of the coil even with the folded edge of the seam allowance, pin the zip to the seam allowance only. It is a good idea to baste as well.

Remove your zigzag foot and replace it with your adjustable zipper foot. Have the needle fall right at the edge of the foot; you want to get as close to the teeth as possible without having the needle hit them.

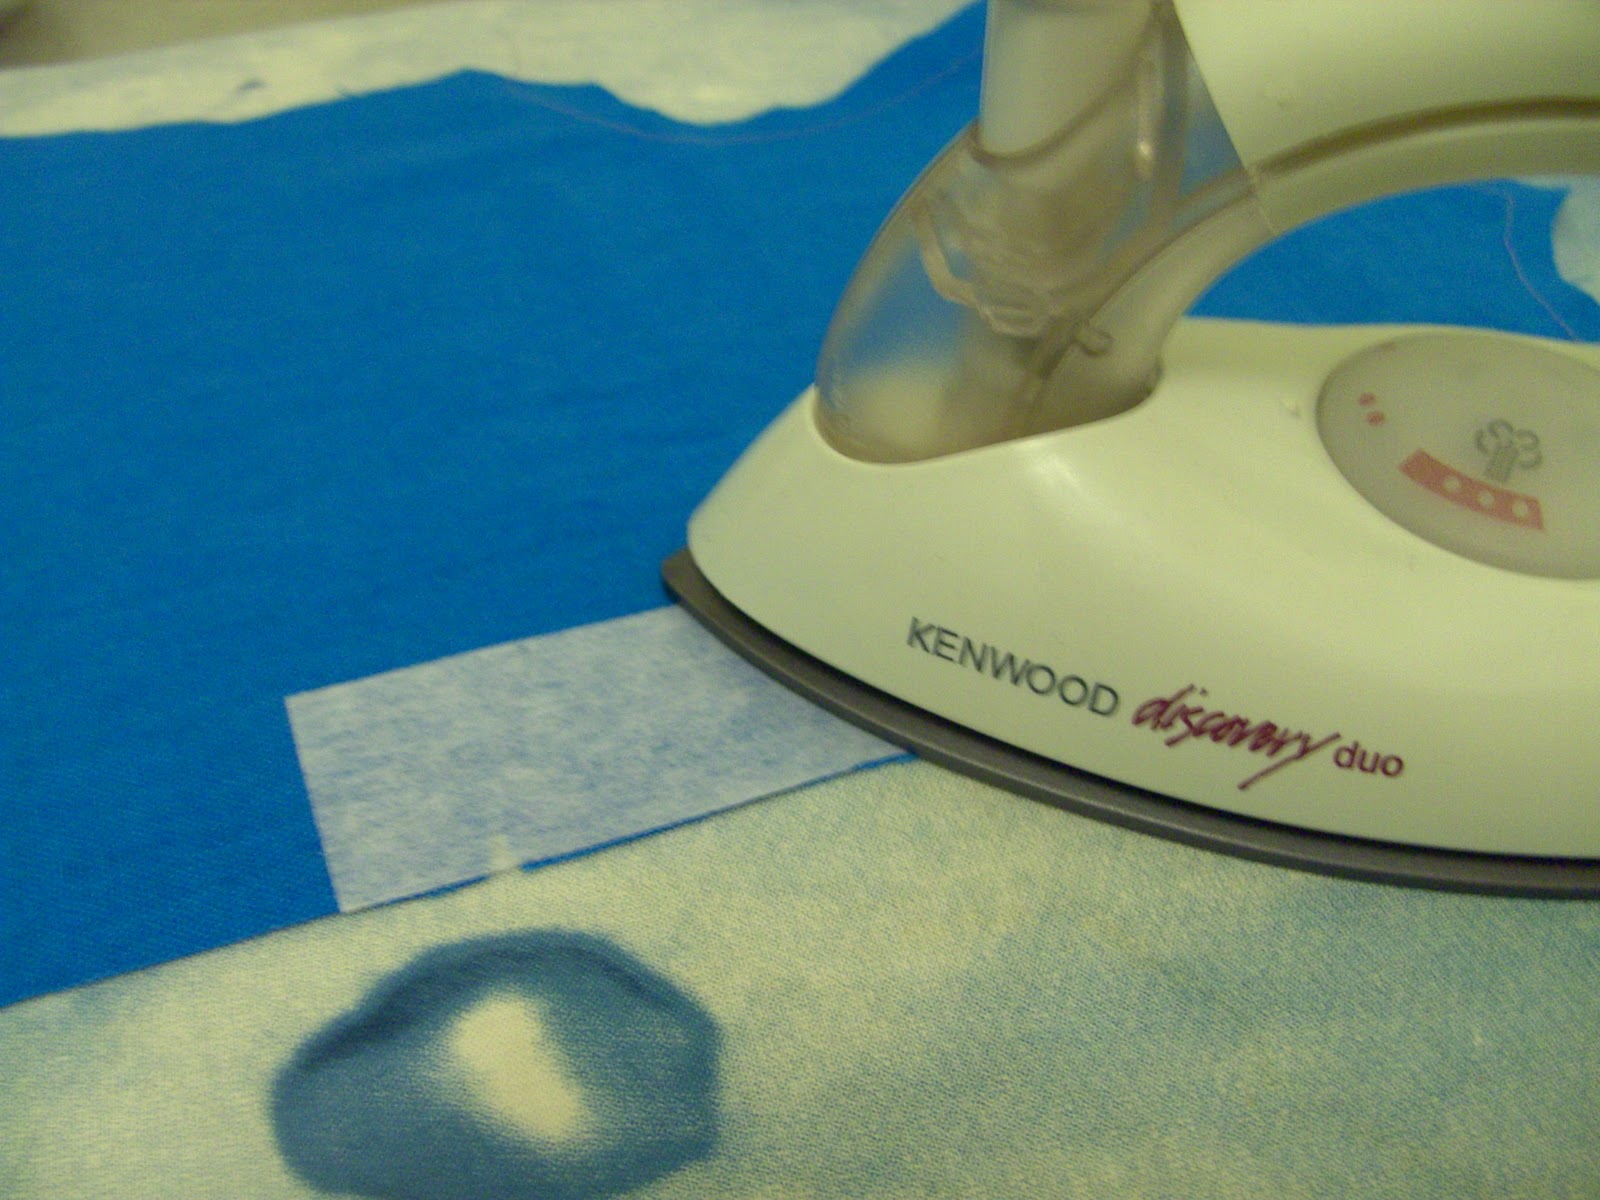
TIP: If you sew at an angle so that it looks like you're going to sew diagonally through the teeth, it will be easier to stitch in the groove of the zip. You still have to open the coil far though, so that the teeth are perpendicular to the tape. In this photo I haven't got them pushed back far enough, but if you get them right, the results are better. It will be easier to sew the zip in properly if you machine baste it in first. Yes, it takes more thread, but it is worth it.

You will have to stop stitching about 1/2" to 1" above the zip pull. When you sew an invisible zip you will see why. Backstitch and tie off. Repeat for the other side, keeping the notches on the seam allowances matched.

Now fasten the zip and have the garment parts RS together, tucking the zip as far out of the way as possible. Sew, starting from where you stopped sewing in the zip, past the end and then back stitch. Change to your regular foot and sew the rest of the seam.

Note: It may be easier or better to sew below the bottom of the zip by hand with doubled thread if you can't get it just right. (It is very hard.) Then sew the rest of the seam by machine.


And there you have it! Just press. Doesn't it look neat? Yes, you can see my zip's pull, but you can get zips in different colours, or you can use nail varnish/polish to colour the pull. (Mum can't stand the smell of nail varnish/polish, so we don't have it in the house.)


After that you sew the rest of the dress.

Next week, we'll sew the front of the dress to the back of it and insert or "set" the sleeves. Plus, assuming the Blogger thing works right, I'll post a little video on ease-stitching the easy way (if only I had know about this when I did my first course!). It is my first online video and I felt almost nervous, so there is no speaking in it : ).

Until next time, Happy Sewing!
Sabrina Wharton-Brown
The Sewing Corner, 41 Market Place, Hornsea, East Yorkshire, HU18 1AP

P.S. You can sew an invisible zip in like a regular zip if you like. They are actually easier than regular zips that way. I know because on my first dress, I sewed one in using a centred zip application. You can get quite a narrow finish that way. : )

Labels: ,

Monday 14 November 2011

How to Make a Dress Part 8: The Pocket Flaps

This week, as the title of this post suggests, we'll make the pocket flaps. They're optional, but are a nice touch. You can embroider them or add appliqués or buttons etc. as you see fit. You can make them in a contrasting colour, or if you're using a striped or plaid fabric, you can cut the top-flap (the part you will see) on the bias for interest. You don't have to use the shape that was supplied in your pattern; you can easily draft your own by drawing a horizontal line the width of the pocket, drawing the shape you want below it (and above it if you like) and then adding seam allowances.

What I have learned from making these pocket flaps is that, as with collars, the bottom piece should probably be slightly smaller than the top one to make sure the seams are not seen from the RS when the garment is worn. (I didn't, so don't be concerned if your pocket flap doesn't look exactly like mine. : ))

So, let's get on with making the pocket flap!

How to Make a Pocket Flap

If you have only one pattern piece for the pocket flap, use it to cut all four pieces, and then trim about 1/8" (3mm) off the outside edge of the under-flap (or flap facing, whatever you would like to call it). In this case, it would be the round edge because the pocket flaps are almost semi-circles.

Interface the top pocket flap if you haven't already.

Then, keeping the raw edges even (and this may be a little fiddly) pin and baste the top pocket flap to the under-flap and stitch around the curved edge, leaving the straight edge unsewn so that you can turn the flap RS out in a minute. Press flat to set the stitches.

Grade the seam allowances as shown above (you don't have to pink them) and notch them so that the curve will work out. Turn the pocket flap RS out and push the seam out as far as it will go. You can use a knitting needle for this. Press.

Now you can apply the pocket to the dress. We are doing this before we sew the dress parts together because it's easier to sew "flat".

Fold down the seam allowance of the pocket flap. Trim to half and press. Neaten the raw edge. Now put the flap on the dress above the pocket so that the raw edge is about 1/8" to 1/4" above the top of the pocket. Stitch along the pressed fold. Press.

Flap the flap down to its finished position and stitch down, encasing the seam-allowance.


Repeat for the other pocket flap et Voilá! Your pockets now have flaps!

Next week we'll put in the invisible zip with an adjustable zip foot and then sew up the centre back (CB) seam.

Until next time, happy sewing!
Sabrina Wharton-Brown
The Sewing Corner Haberdashery, 41 Market Place, Hornsea, East Yorkshire, HU18 1AP, UK.

P.S. Last week we got some new stock in the shop so I bought a sewing gauge. (They're only £1.85!) It's nice for measuring hems, and you can even draw circles with it! It also has a point-turner on one end and an adjustable button sewing shank thing on the other. We sell Hemline brand products. We could have got the Nancy Zieman sewing gauge, but they're so much more expensive and I don't know that they're that much better. What do you think? Do you have one? Please comment below. : )

Labels: ,

Monday 7 November 2011

How to Make a Dress: Part 7 - How to Make A Patch Pocket

Hello! : )
My cold is almost gone now and I'm feeling much better.

The next thing we are going to do is make the patch pockets. This stage is optional, but the dress looks better with them. Besides pockets are very handy.

How to Make a Pocket


Get your pocket piece and if you haven't already, interface the WS of the hem (the top bit of the pocket). Turn 1/4 inch (6mm) along the top edge to the WS.

I did it wrong when I was making the dress and I turned it to the RS so I have "corrected" it on the photo with the red rectangle and drawn-in stitches.

Then you grade the seam allowances as shown and trim the edges like you did for the collar. Then you just neaten the raw edges with a zigzag stitch.

The next bit is a good idea. I'm not sure whether I thought of it or whether I got it from somewhere else. Anyway, get the pattern piece for the pocket, put it on top of a piece of cardboard such as you get from used cereal packets, and using your tracing wheel, trace the stitching lines. Cut out the cardboard shape and trim about 1 - 2mm) off the edges (otherwise it won't fit into the pocket).


Turn the pocket RS out and poke the corners out with a knitting needle or something. If they need trimming to a sharper point you should do that now. Now insert the square into the pocket hem and press. Fold the raw edges over the cardboard and press. You probably can't do the corners so leave them.

Take the cardboard out. Now it's time to mitre the corners. As you have folded the straight edges, you now have creases as a guide. Fold the corner in as shown so that the creases line up. Press. Trim the corner as needed to get a flatter corner. Fold the straight edges down so that the corners look neat like the left-hand one below. Then just hand stitch the corner closed, sewing only the seam allowances.

Now it's time to hem the top of the pocket in the same way as you hemmed the sleeve. Your pocket's hem will have the little fold going under, so you should be happy if it doesn't look like mine. : )

Secure your thread in the seam allowance at one side of the pocket. Take a stitch about 1/4" (6mm) long inside the fold of the hem, then take a stitch of one thread only in the pocket. Repeat until you reach the end. Then secure your thread in the seam allowance and cut it off.

Now you can place your pocket on your dress. There may be markings such as Tailor's tacks or dressmaker's pencil to help you match it up, or you may like to put the pocket wherever you want. Pin and baste. Then topstitch in place by machine. I have tried hand sewing pockets in place, but my hand stitching is never strong enough for something like a pocket, so I machine stitch.


I tried topstitching one of the pockets on using my blindhem foot as a guide, but the results were terrible. Thank goodness for my quick-unpick. It's better to topstitch with your regular presser foot.

And that's it. Just repeat for the other pocket.

Next week we'll make and apply the pocket flaps.

Until next time, Happy Sewing!
Sabrina Wharton-Brown
The Sewing Corner Haberdashery, 41 Market Place, Hornsea, East Yorkshire, HU18 1AP
Tel. +44 (0)1964 537901

P.S. Are you watching Kristie's Homemade Britain on Channel 4? I especially liked last week's episode because it was mostly sewing. On my mental wishlist is now a Free-motion embroidery foot. : )

P.P.S. Sorry for any typos; I don't have much time for checking today. : )

Labels: ,

Monday 31 October 2011

How to Make a Dress Part 6: The Collar

( I have added the pictures of the dress I made for this series as a reminder of what it looks like.)

All last week (half-term) my brother had a cold, and now I have it, so I will just make this post about the collar. Sorry to cut it short.

How to Make A Collar
Sometimes (in better patterns) there are two collar pattern pieces: the top collar and the under-collar. The top collar is the one that you will see when the garment is worn; the under-collar is like a collar facing (I think it's sometimes called that) and it goes underneath (hence the name).

If you have not already interfaced the top collar, do so now. The top collar is slightly larger and a slightly different shape to the under-collar. This is so that the seams roll out of sight when the garment is finished; it also makes the collar a better shape. It makes it a little fiddlier to get the pieces ready to sew, but the end result is worth it.

Match up and pin the corners first, and then the raw edges, keeping the extra fabric of the top collar evenly distributed. Now hand-baste in place. You don't have to pin and baste the neck edge - you will only have to undo it again later.

In the photo below, the under-collar looks rather wobbly because the larger top collar is eased onto it underneath (RS together).


Now you just have to sew from the back neck point to where the collar meets the front of the neckline. For the sailor collar I should have sewn right around the point to maybe 2 inches towards the neck to make it easier later, but I assumed that a sailor collar, being flat, would be applied like a Peter Pan collar. I was wrong, apparently, so these instructions are going to be for a Peter Pan type collar. : )

When you sew the corners, take a diagonal stitch or two. Ironically, this gives a sharper point when you turn it RS-out. It's because the fabric is thicker than paper and needs the space of the diagonal corner to lie flatter. Otherwise it will be all pushed together like inside the finger-tips of a glove.

Then you trim the seam allowance of the top collar to half. This will make it lie more smoothly when turned RS-out. You also need to trim the corners so that there will be less bulk. First, snip the corner off, about 1/8 inch out from the stitching, then whittle the seam allowances to a narrower point. I didn't take a photo of that so I've just whipped a drawing in Paint. It's a little scruffy, but I hope it serves its purpose.
Now you can turn the collar RS out and it is ready to sew onto the dress later.

I hope that helps!

Until next time, happy sewing!
Sabrina Wharton-Brown
The Sewing Corner Haberdashery, Hornsea, East Yorkshire, HU18 1AP

Labels: ,

Monday 24 October 2011

How to Make a Dress: Part 5 - How to Prepare Facings and Sleeves for Sewing into the Dress

If you follow sewing pattern instructions you will make the garment pieces as and when you need them. That's fine, but if you are an organized sort of person or you want to be, you can make the smaller parts up before-hand so that you can just apply them when the time comes, kind of like they do in factories, except you're make only one item (or so I presume).

We'll start with the facings.

How to Prepare a Facing
It's easy really. Once you have stay-stitched the edges and interfaced the facing, you put the seam allowances that are to be joined RS together and stitch. On this dress there was a neckline facing and the seams were shoulder seams.

Here the front neck facing is underneath the back neck facings, which overlap because of the seam allowances:


Once you have stitched the seams of the facing, you press them flat (as they are when you take them away from your sewing machine), then you press them open, and overcast or zigzag their raw edges. The interfacing is trimmed in the seam allowances to reduce bulk:


We'll apply the facing later.


How to Make a Sleeve
The sleeve on this dress is a simple short sleeve with a hand-stitched invisible hem (machine-sewn invisible hems are seldom actually invisible). The front of each sleeve has one notch and the back has two notches (also called a double notch). This is so you know where to start ease-stitching, and also to help you put the sleeve in the right way round. There is also a notch at the top of the sleeve to match the shoulder seam.

Here I have sewn the seam (you can see the hem area is interfaced for a better finish) and trimmed the seam allowance in the hem area to reduce bulk.

(You can see in the seam allowance of the sleeve cap I have clipped one of the notches rather than cut a notch shape outwards of the seam allowance. I do this because it's quicker and easier.)

Now we shall sew the hem of the sleeve. If you were making the garment for someone in particular, or for yourself, you could leave this part until you try the garment on to make sure that you get the sleeve the right length.


How to Sew An Invisible Hand-Hem
This hem allowance is 1 1/4 inches deep (about 3cm) and there will be two turnings: one deep one (1in deep), and the other (1/4 inch) to fold under the raw edge.

First, fold the hem allowance up 1 1/4 inches all the way around. This is a good place to use your sewing gauge if you have one (I made mine) or you can use a tape measure if you prefer. Once that is level, turn under the remaining 1/4 inch so that the hem is 1 inch all around when viewed from the inside (as shown at left). Now pin in place and baste if you wish.

On the seam allowance of the sleeve seam (which I probably ought to have overcast earlier) secure your thread for hemming as in the top photo below.


Then go into the hem allowance and bring the needle through about 1/8 inch to 1/4 inch along. Pick up one thread of the sleeve and then repeat. Keep going until you get to the starting point again. Then you just secure your thread and cut it off.

If you have to start a new thread as you go along the hem, secure it in the hem allowance so that it is invisible.

Et Voilá! You have your hem, and it is invisible from the RS.

When it comes time to set the sleeves, I will show you a neat trick that I learned from Power Sewing by Sandra Betzina for easing the sleeve caps much more easily.

I had planned to include the collar, bow and pockets in this post, but I haven't time. Never mind, we will continue next week.

Until next time, Happy Sewing!
Sabrina Wharton-Brown
The Sewing Corner Haberdashery, Hornsea, East Yorkshire, HU18 1AP

Labels: ,

Monday 17 October 2011

How to Make a Dress Part 4: Stay-stitching, Interfacing and Hand Overcasting

The gas-man came on Thursday and put the heating back on. Apparently the smell was due to our flu; flues are easily affected by the wind and that was what was sending the dreadful smell into room. It wasn't gas; we don't know what it was, it just smelled awful. Anyway, back to the dress...

Stay-stitching
The first thing to do is staystitching. Stay-stitching is sewing along all the curved and bias edges so that they maintain their shape, i.e. so that they stay the same. It's easy to do, you just machine-sew along the edge within the seam allowance.

If you are using a sheer fabric, you should do this over tissue paper like pattern paper, or over stabilizer so that your sewing machine doesn't eat your fabric. If you are sewing a loose weave fabric, you should stay-stitch all the edges, even the straight ones so that they still measure the same length. This is especially important if you are sewing a plaid loose weave fabric and want the plaid to match up. You don't need to stay-stitch the pieces that are going to have fusible interfacing; that will hold them in shape.

Interfacing
Having cut out all your pieces from fabric and done the stay-stitching, now you can cut and apply the interfacing. Interfacing, for those of you who don't know, is a kind of fabric sold in the notions department, that stabilises fabric and makes it stiffer. There are many different kinds, which come to your attention especially when you venture into tailoring, but the kinds that you will use most often in dressmaking are fusible and sew-in. I will show you how to use both when we cross those bridges.

The peices that need interfacing are:
  • the upper collar or top collar (same thing)
  • the tops of the pockets (to help them keep their shape and not sag)
  • the pocket flaps
  • the inset at the neckline of this style (a sailor dress)
  • the facings (just neck-facings in this style because we have sleeves)
  • the zip area
  • the hems (optional)
  • the "knot" (optional)

It looks like a lot, but they are mostly small things. You use the same pattern piece as you used for the fabric, and on the same grainline. You might think that interfacing doesn't have a grainline, but even the fusible and sew-in kinds that look like tumble dryer sheets stretch more in one direction than in the other. The grain to use is the non-stretch directions.

When you want to know if a piece ought to be interfaced, think if it needs to maintain its shape like collars and plackets do. If you want a crisp appearance, you can interfacing the whole section; if not, you can interface the facing. The crispness is perhaps more noticeable with fusible interfacing.

NB: It is a good idea to preshrink your interfacing by soaking it in hot water for about 20 minutes or until the water cools. You should do the same with twill tape or cotton tape as well. Otherwise, tape could shrink and garment won't (assuming you have preshrunk the fabric) making it uncomfortable and tight.

How to Apply Fusible Interfacing
When you have cut the interfacing out, put it on the WS of it's fabric piece, with the shiny side against the fabric. Then press in place using the instructions on your packet. You may need to press more than once and use a press cloth, especially if your material is sensitive to the iron.

It is hard to say what heat to use. I would say that you ought to start with the temperature that is right for the fabric, and if that doesn't make it fuse, turn it up and use a press cloth.

How to Apply Sew-in Interfacing
If you are using sew-in interfacing, it doesn't matter which way up you have it because there isn't a RS and a WS like on fusible. Just have it match the shape and baste it around the edge inside the seam allowance. The interfacing gets sewn in permanently when the garment seam is sewn. Then you can trim the interfacing's seam allowance to about half to reduce bulk. If it is at a curved edge, you just clip or notch it as you do the garment fabric.

Why use interfacing?
Interfacing helps your garment keep it's shape. It can also change the drape of the fabric and it prevents facings from shifting. It can also give a neater finish to plackets, zips, pocket top-edges, hems, etc.

What about different fabrics?
Silk fabrics, particularly the drapier ones, ought to be interfaced with silk organza because it gives a better finish on such fabrics. Muslin is also a kind of interfacing, but it shrinks to about half it's original size so you must preshrink it. (I know because I made some muslin laundry bags and didn't preshrink it).

I have only used Hemline Sew-in and Fusible interfacings so far, but I expect to learn more about interfacing from Couture Sewing Techniques by Claire Shaeffer which has just arrived as I am writing this post (yippee!)

When you have applied the Interfacing to a Facing...
It is time to neaten the outer edge of the facing, i.e. the edge that will not be part of a seam. You can

  • overlock/serge it if you have an overlocker/serger
  • zigzag it
  • pink it if the fabric does not fray
  • bind it (this is seldom done, because it can add bulk)
  • hand overcast it as I did.
This job can be left until later unless your fabric frays badly, in which case, it is better to do it now.

How to Hand Overcast (AKA Oversew)
When sewing machines were almost universally straight-stitch machines sewers had to neaten edges in other ways. They could bind the edges, pink them, clean-finish, use ribbon to cover the edge and hem it down invisibly to the garment, or use a different kind of seam such as a French seam or a felled seam. One very common way to neaten edges and a way that is used in couture sewing is to overcast or oversew the edges. It's basically half a zigzag.
Some people might use silk thread, but Susan Khalje says to use polyester thread. As I don't have any silk thread, I use polyester and it works fine.


  1. First, you sew a few backstitches on the spot to secure your thread. You can knot it instead if you prefer, but I don't want the knot to come through the weave of the fabric.
  2. Next take the needle over the edge and to the right a little. Bring it through as in the photo above.
  3. Holding the thread at a diagonal with your thumb, repeat step two.
  4. Keep your stitches as neat and even as you can and keep going all the way to the end. 
The size of the stitches will depend on how much the fabric frays. If it frays a lot, use deeper, closer stitches; if it doesn't fray much, you can use slightly wider, slightly shorter stitches. You'll have to use your own good judgement. 

This stitch can also be used decoratively on fabrics that don't fray, or on hemmed edges. Take a look at cowboy clothes and see. : )


NB. If you are left-handed, just "mirror" the instructions. You can also copy the image to paint and flip horizontally if you wish. (Only for your personal use, otherwise please ask first).

I think that's enough for one post. Next week I think we'll make the smaller pieces (or at least some of them such as the pockets, sleeves, inset and bow. We won't apply them until the dress part is sewn.

I hope all that helps!
Until next time, happy sewing!
Sabrina Wharton-Brown
The Sewing Corner Haberdashery, Hornsea, East Yorkshire, HU18 1AP, UK

Labels: ,

Monday 3 October 2011

How to Make a Dress - Part 3: How to Lay Your Sewing Pattern Out On Your Fabric

Now that  you have your pattern ready for cutting (sorry if you have fitting troubles - I just fit my garments when I try them on), you can lay it on your fabric.

Fabric Widths
Fabric often comes 150cm wide. Which you have will affect how much fabric you need and how you lay the pattern pieces on it. Your pattern envelope will tell you how much fabric you need for either of the main widths (see the first post in this series). Inside, on the pattern instructions it will also tell you how to arrange your pattern pieces on your fabric.

Nap
Nap is when fabric looks different one way up than it does the other way up. A prime example of this is velvet - it looks shiny one way and soft the other. But nap also refers to stripes, uneven plaids, prints that obviously have a right-way-up and things of that ilk. Suppose your fabric had little hearts printed all over it in a repeated pattern. That fabric has a nap because it has a right-way-up. You would presumably way all the hearts to be the right way up so you would use the "with nap" layout.


Not all fabrics have a nap, plain linen for instance (like I used on the sailor dress). It looks the same either way up. So what does this mean for you? It means that you can dovetail some fabric pieces so that they fit in better and use less fabric.

Here you can see that the back piece was "dovetailed" so that it fit in better. Because the fabric doesn't have a nap, it doesn't matter which way up the pattern pieces are lain. This means that you can save fabric. Where you would have needed 1.5m with nap, you can probably use only 1m or less without nap.


Layout Pictures on Sewing Pattern Instructions
On the first page of your sewing pattern instructions there are pictures of "lays" (the plans for laying your pattern pieces on your fabric). These are easy to use. You just pick the ones you need for the view you have chosen, and arrange your pattern pieces on your fabric so that it looks like the picture.

There will be lays for the main fabric, for interfacing, and for lining if there is any.

But suppose your fabric is of an awkward width? What then? Well, you put the big pieces down first, then fit the smaller pieces around them. Easy. Just as long as you keep the grain lines correct and pay attention to the nap if there is one, you will be fine.

The Right and Wrong Sides of Fabric
Fabric usually has a right and a wrong side. The right side (often abbreviated to RS) is the side that you will see when the garment is worn. The wrong side (WS) will be the inside.

If you are new to sewing it may be difficult for you to tell the RS from the WS. Sometimes, like when the fabric looks the same on both sides, it doesn't matter. But if the fabric looks different on either side, it does.

If the fabric has a print, the printed side is the RS. If it has a pile, like velvet, moleskin, or faux fur, the pile side is the RS. If it is twill fabric such as cotton drill or denim, the side with the diagonal ribs is the RS.

I hope that helps.
Until next time, Happy Sewing!
Sabrina Wharton-Brown
The Sewing Corner Haberdashery, Hornsea, UK


Labels: ,