
Cut21 -- Part 4 -- The Jeans
The second part of the outfit is the jeans. I knew I wanted to make some for my FMP, and to begin with, the designs were fairly mainstream, though better-fitting. As it goes with designing, the more I sketch, the sooner I come to a good idea. I came to these (note: these are my sketchbook pages, not my scruffy-book pages):

 Some features I chose to include in the jeans were: a slightly lower front waist so it doesn't dig into you; a gusset between the legs to avoid the "slicer seam" problem; and purposes, a contoured waist-facing instead of a traditional straight-cut waistband, giving a better fit and less bulk, as well as cleaner lines for the aesthetic. I wanted slim-fit legs, turn-ups, and, eventually, a back yoke shaped like a traditional shirt hem, just because.
Now, had I been able to make them in my size, I would have had more freedom to finesse the fit. As it was, I was required to make them in a tall size 12 (probably a shop size 10), and had no one the right size and height to test them on. I tried the toile on myself and had to pin a considerable amount out a the waist and turn the hems up a lot more. (Images here to save data).
These are the jeans I finished with.
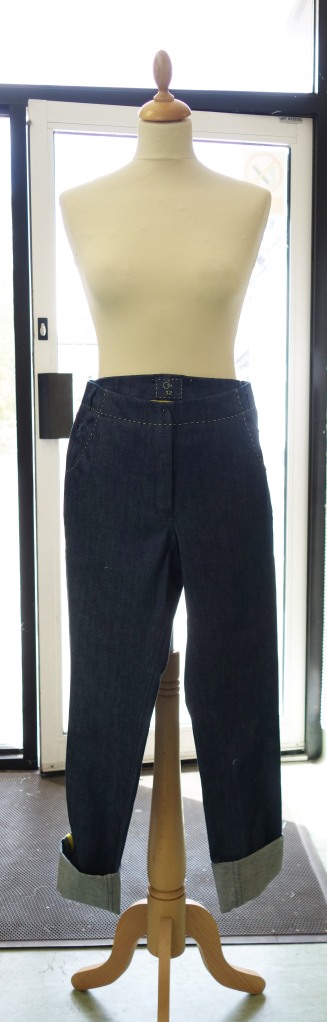
- Notice the high back and low front, for comfort and security while riding.

 Granted, they would look better on a person. :)
Here are some detail shots:
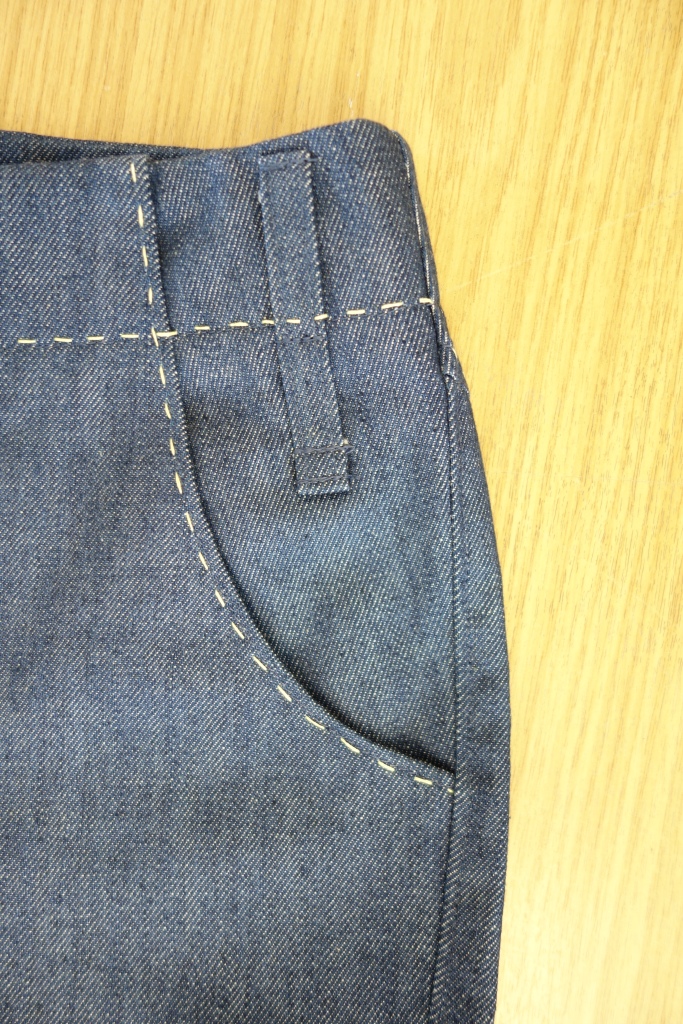
- The pockets feature the soft selvedge of this non-selvedge 11oz denim.

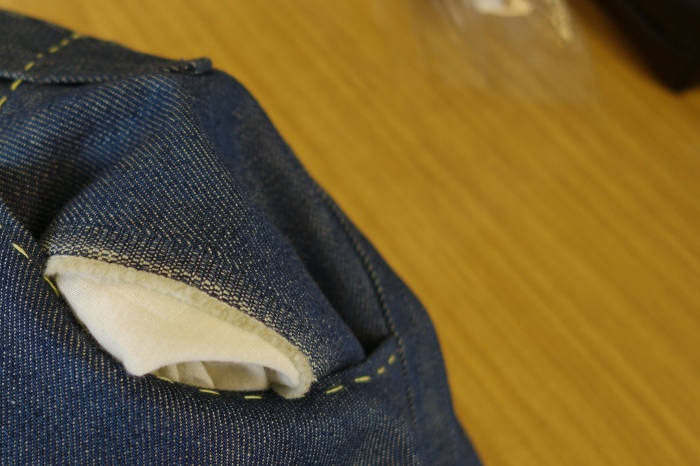
- Inside the back pocket

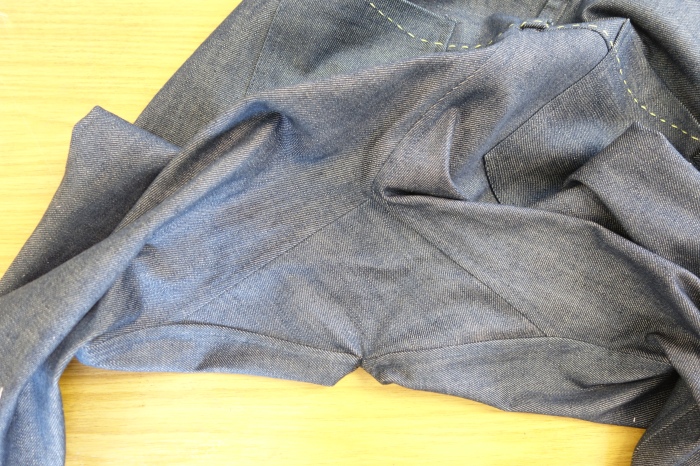
- Crutch gusset to make cycling more comfortable.

The gusset was quite tricky to sew. I had to clip into the corners to be able to get past the crutch point. I would have used a curved gusset like Kathleen Fasenella, but I couldn't get the curved edges to be the same length as where they had to go on the jeans, so I used a diamond gusset instead. She does on her jeans anyway so it must be acceptable.
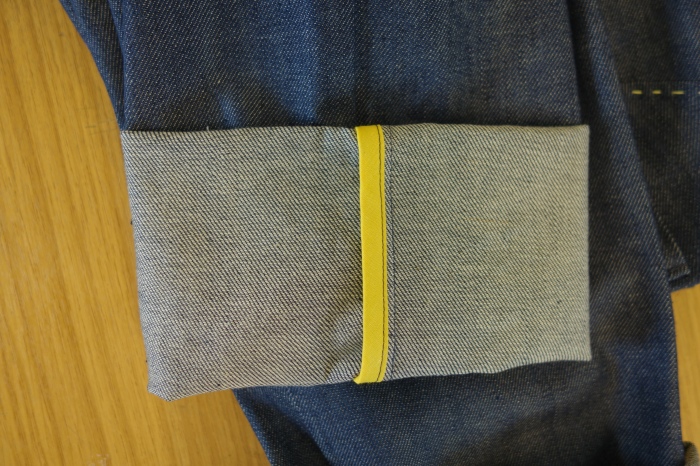
- Hand-topstitching using waxed embroidery floss.

Even though I used hand-topstitching, there is a lot of machine top-stitching on these jeans too. It's virtually invisible as I used the right colour Gutermann Sew-all thread (I can't remember the number for sure, but I think it was 512). I tested a couple of thread colours and put the sample and notes in my pattern file. That must get some points. :)
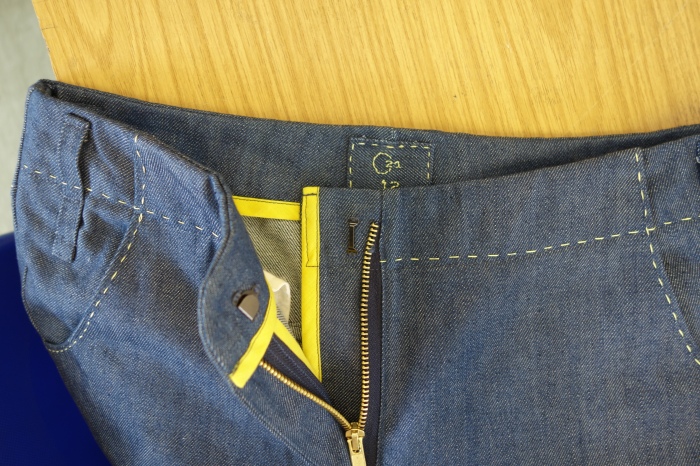
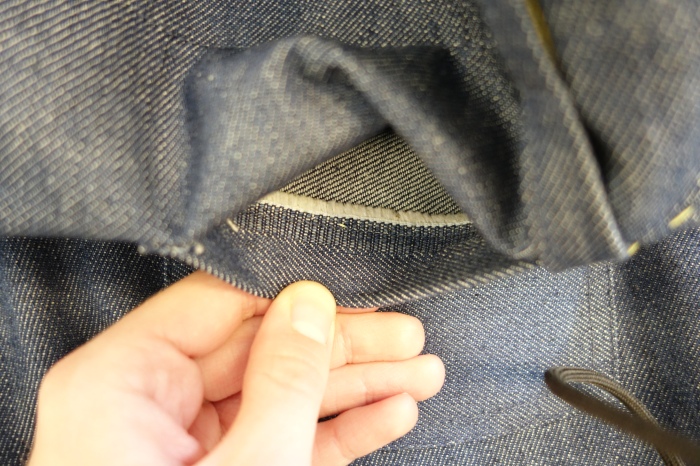
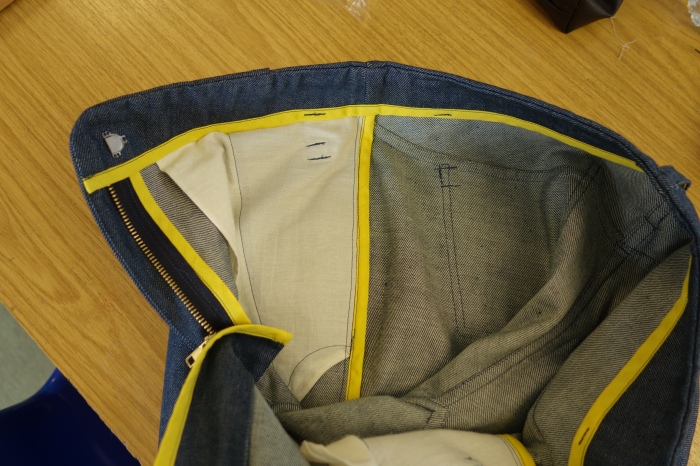
- No waistband -- just a waist facing with its lower edge bound. There is a hook and bar at the top too, instead of a button and buttonhole.

If/when I make another pair, I will sort out this zip issue. I will have to stop lower down (would be easier to get the right length to begin with now I've time) because this comes close to showing when the jeans are fastened.
The other issue here was that the facings are not level inside. I don't know why, because the toile seemed okay, and the pattern, I think, was correct (must check). I want to find out what caused this because it annoys me to have that fairly noticeable (when you are getting dressed) fault. >:|
And, yes. That wobbly navy stitching on the binding on the zip guard does bother me.
Anyway...
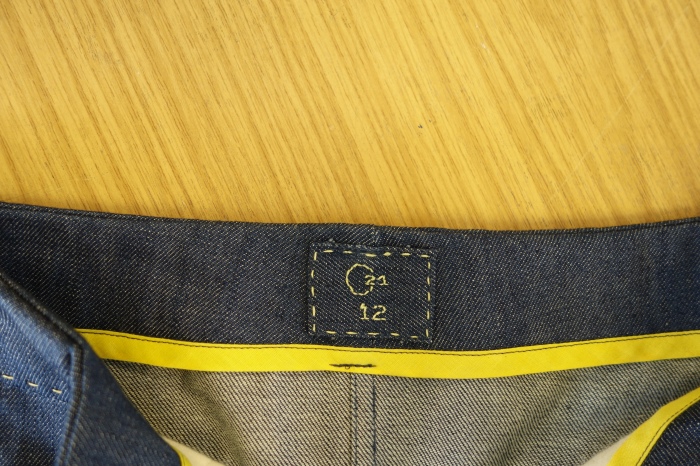
- All the garments in my collection feature hand-embroidered labels. Including labels is sure to get me a few marks! :)

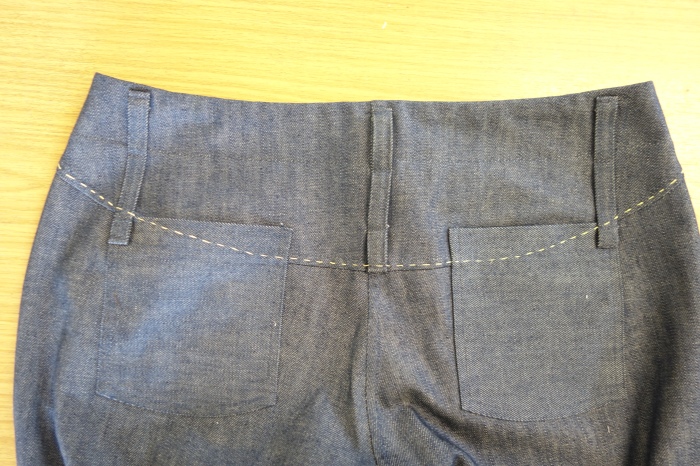
- The yoke line, which you can only see by the Sashiko-inspired stitching, is meant to resemble a shirt hem. The lines of the pockets echo this. I used extra long belt-loops for looks. They are backed with yellow bias because I refuse to use an overlocker on Cut21 stuff.

The back pockets were cut on the cross (not the bias, the cross, in case you use the wrong term) to take advantage of the selvedge, so when they are worn there is a shading differences, annoyingly. You can see in the photo that the grain doesn't match.
- So much binding!

- Side seams are bound to suggest the look of selvedge jeans. I tried opening the seams and binding separately, but it looked too sporty so I chose this option.

One thing I learned when doing all this binding is that it is much easier to sew on in one go if you press it in half first, perhaps with a little bit extra showing on the underside, just to make sure it gets caught in the stitching. If you have a really good binder attachment then maybe you won't need to do this, but I don't have one.
So these are the Cut21 Jeans. I would give them about an 8 out of 10, taking design into consideration, and the neatness inside. Plus the fabric is really nice! :)
Next week, you will see the shirt in more detail.
Sabrina
P.S. Sorry for posting late this week, I was doing a trial but I'm evidently too slow to work in an alterations shop.
Labels: Bishop Burton College, college, Cut21, gusset, jeans, pattern cutting, patternmaking
posted by SWB @ August 24, 2015
0 Comments
![]()
![]()

0 Comments:
Post a Comment
Subscribe to Post Comments [Atom]
<< Home